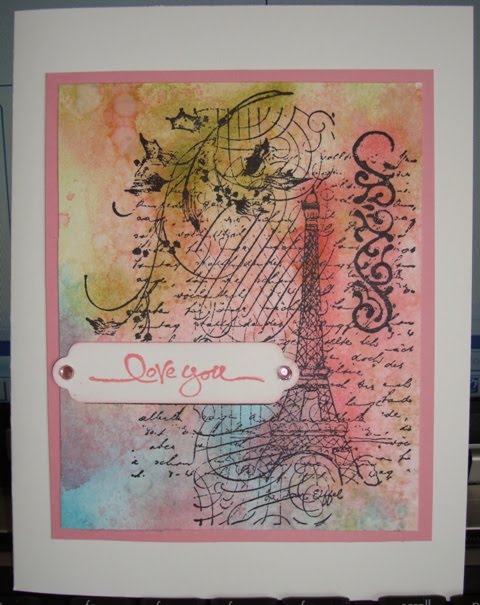
Coffee Filters? I have to say my first thought was DO I HAVE ANY COFFEE FILTERS? (remember - Diet Coke thru and thru). But I did find some in the back of the cabinet, lost and lonely.
My second thought was the classic SplitCoast technique
FROSTED FILTER. I decided to morph that technique with another
MULBERRY BATIK. And then add my own little twist. Below is what I did for the background.
The image was stamped on white with Black Soot and covered with clear embossing powder (for that glossy, wet ink look). The image was watercolored with Distress Inks. Oh, and my choice of image came more from the "tea" side of the monthly theme. When I think of the far east, I think of green tea.
Stamps: Stampin Up! ORIENTAL BRUSHSTROKES, A Muse sentiment, Hero Arts CHINESE THANK YOU
Paper: coffee filter, Neenah Solar White, black scraps
Ink: Distress Ink, embossing ink
Accessories: clear embossing powder, Glimmer Mist (Tiger Lily, Sunkissed Peach, Viva Pink, Tuscan Sunset)
If you'd like to play along with the Gingers, you have a MONTH to post your interpretation of COFFEE FILTERS on the Gingersnap Creations post. Be sure to stop by here and leave me a link to your creation too!
Have fun - stay warm - see you next week!

Stamp background image on coffee filter with embossing ink. Heat set clear embossing powder.

Saturate the coffee filter with Glimmer Mist. Slowly dry with heat gun. Be sure not to burn the filter or re-melt the embossing powder. I found that setting it on another coffee filter to absorb some of the moisture helped.

Put the dry coffee filter between two pieces of typing paper and PRESS (don't iron) with a hot iron. I've tried this with a craft iron before but they don't get hot enough.

You should press until the embossing powder is soaked into the typing paper.

I cut a background sheet slightly bigger than the finished size and ran it thru my Xyron. If you don't have a sticker maker - just be sure to hit the edges of the paper with your adhesive.

Place your sticker sheet on the part of the filter you want to use. Trim the edges and finish your card.

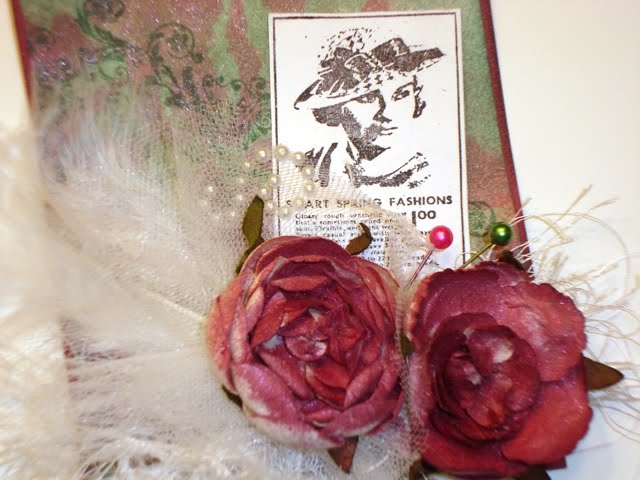
 This week I'm shopping for vintage hats!! I love these stamps by Hero Arts. The tag was covered with green designer paper. I added a rub-on. The girls were stamped on a color washed tag and cut out. And then I added pearls and a ribbon.




 Today's Chestnut Theme Challenge is HOT BEVERAGES