


Thanks so much to Shar for inviting me a year ago to join the team and allowing me to play with her great stamp sets!
(On this canvas I used Beach Babes, Floriculture, and Relish Reading)


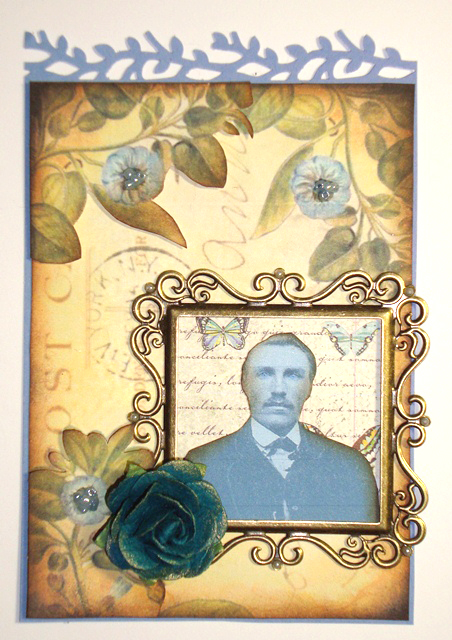
 Meet my Great-great-grandfather, Nels Anderson. Nels left southwestern Norway in 1856 at the age of 20. He settled in Wisconsin and worked for several years as a farm hand. When he had $300 saved he went back to New York, got on a ship bound for Panama, WALKED across the Panama Isthmus, got on another ship bound for San Francisco, and joined the California gold rush (10 years late - 1859). What he did there remains a mystery (for now - I'm hoping to find out one day), but he eventually returned to Wisconsin and married Christina (below).
 I start by cropping to the size I want. Use your mouse to move the brackets to frame the edges of the photo. I didn’t need all the white cardstock around the photo, so I removed it.
 Next I resize. This just means making it a standard pixel size. You probably won’t notice a difference other than the size of the JPEG file. I always select WEB – LARGE 640x480.
 And then I save and exit from Picture Manager.
 ***WARNING: I have Photoshop – but I’m new to it and can’t do much other than adjust the light/dark settings.***
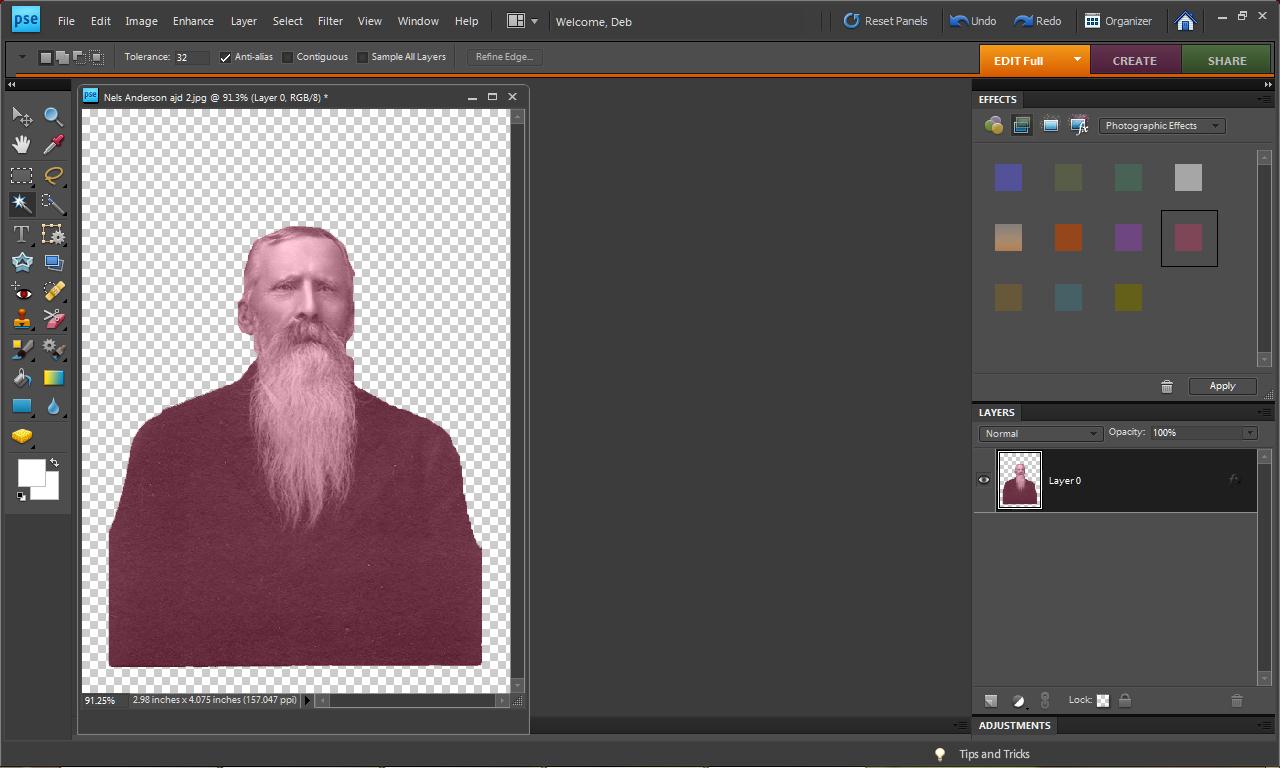 But I wanted to try colorizing Nels for this project. (I removed the background but it's not necessary.) Under WINDOWS open the EFFECTS - PHOTOGRAPHIC EFFECTS. Click on one of the colors and drag to your photo. Ctrl+z will reverse the colorization. When you're happy -- SAVE IT!
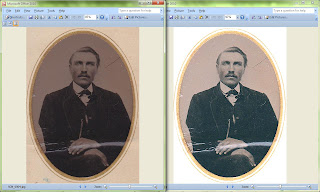 My Great-great-grandfather, John Quammen.
 My Great-great-grandmother, Christina Williams Anderson (Nel’s wife).


 I've had the Navy Pearl and Purple Pearl Lumiere for a LONG while (to the point where I was slightly worried they'd be dried out). I've had the turquoise (Stream) Dimensional Pearls almost as long. At any rate, I decided to mix the color into modeling paste. I played with the paste a bit on my She Art girls and love the way it kept it's shape after the mask is removed.
 So I took a bit of paste out of the jar, added a squirt of turquoise (in the end I added a 2nd squirt)...
 ... and mixed it up!
 I tried to get some texture with a mask, but the color made the modeling paste too "unstable". Instead of neat little circles from the mask, I just got peaks.
 On the other side of the paper, I put two good-sized drops of Lumiere on the page and used a hotel key card to scrap it off/around.
 Eventually, I over-lapped the peaks and just went for a "plaster" look. There is surprisingly a lot of texture left when it dried.
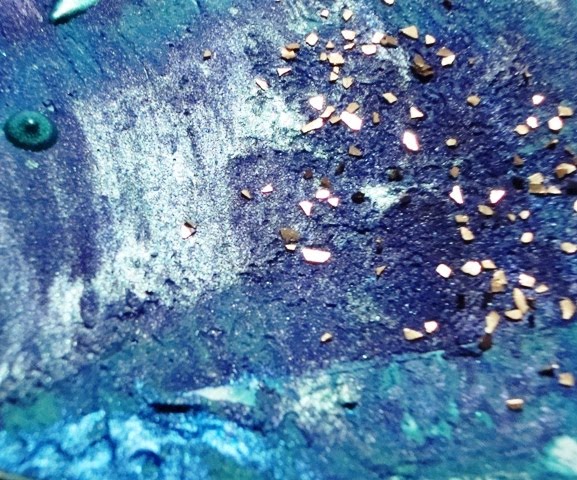 And the color is GORGEOUS! I sprinkled some glass glitter on and let it dry over night.
 Stamps: just a clock stamp...but I can't remember what company
 The image is a Dezinaworld clip art photo on sticky backed canvas. I also used Tim Holtz gears, mini glass bottle, and some 7 Gypsies rub-ons. And some red glitter for "time in a bottle". (wink)
 A few more rub-ons, sequin waste, and red wire wrapped into a coil.
 Finished bag & tag.
 Close up of finished bag front.
 Tag - from Wednesday's post.
 I wanted to do something a bit different with the tea bag template. AND I wanted to make a Valentine gift for my mom. The original template is posted here. I bumped up the size of the tea bag template just a bit and made a mini album with some pictures I took at Christmas. The mini album is titled GG's BB (Great Grandma's Brag Book).
 I increased the size of the template just a enough to hold 4x4 pictures. The width is 4.5" (not 3.5" ) and the length is 12" (scored at 5", 5.5", 6", and 11").
 I used magnets on the inside flaps.
 I cut 3 sets of pages 4" x 9.5" and scored in the middle. This gave me 6 pages for pictures. I used my paper piercer to make holes in the center at 3/4", 2", and 3 1/4". I placed the pages inside the tea bag and punched again.
 I used scrapper's floss as binding thread. It's a simple figure eight. The ends of the floss come from the inside to the outside - end and center holes. The thread from the center goes into the other side and out through the middle again.
 Then the threads are pulled tight.
 And a knot is tied near the outside center. There's a photo section in each tea bag valley.
 I picked some of my favorite pictures from our Christmas trip to meet Julian and used Photoshop to make them sepia toned. I printed 4" x 6" but trimmed them down to 4" x 4".
 I left pages blank for future additions...
 ..and included a picture of all the family members. (Here's my nephew, Adam, who finally out grew Grandma).